Attic Air Sealing & Weatherization Chicago


Request a Quote Today

Heat Rises Through The Seams Between The Wall And Floor
If the Pressure Barrier / Air Barrier is leaking into the house or out of the house the conditioned space is drafty.
A leaking conditioned space creates unintentional heat escape in winter to the outside and creates the potential for mold growth. When retrofitting existing homes, an air sealed attic floor is the first step to a clean healthy interior. Only then can we focus on active ventilation and additional insulation.
Weatherization or weatherproofing, air sealing, fire-stopping; the goal is clear. Improvements make a house or building resistant to cold weather by adding insulation, weather strips, sealants, or gaskets to seams such as windows, doors, and gaps of dis-similar materials.


4. prevent a mold food source ( condensation / evaporation cycle)
5. prevent unintentional air exchanges in the conditioned space. On sidewalls of the home, there may be gaps between framing members.
Why Attic Air Seal?
Picture the air gap between beverage thermos materials; one layer is to hold the beverage, with an air gap between the outer layer does not have contact with the inner layer creating an incredible resistance to heat escape or heat intrusion.
Loose fill / batt insulation is designed to trap air between layers but it is not a pressure barrier. A good insulation material will trap air, and keep the air still (such as closed cell spray foam or rigid foam board.)
Attic Air Seal highlights and benefits to existing homes.
1. reduce drafts at the lower levels of the home by stopping heat escape in the winter to the attic
2. reduce heating and cooling bills by eliminating leaks and unintentional air escape from the conditioned space


Heat escapes from the conditioned living space pressure barrier.
This is a direct result of skin dust and hair which is pulled up through stack effect to the attic from temperature differences between the attic and the living space.
The black lines of the photo are not mold (commonly confused and misdiagnosed) it is skin dust and hair from the living space. The fiberglass insulation does not stop air movement. No loose fill insulation stops air movement.
To verify this process of finding skin dust and hair in the attic, shake out your blanket in the morning with a bright light and notice the dust that fills the air. This dust is pulled between gaps in the room up and out to the attic.
This is the same air that leaks and escapes from the heated bedroom resulting in unintentional air exchanges, a drafty lower level, higher bills, mold food in the form of condensation, premature snow melt, icicles, ice dams and more.

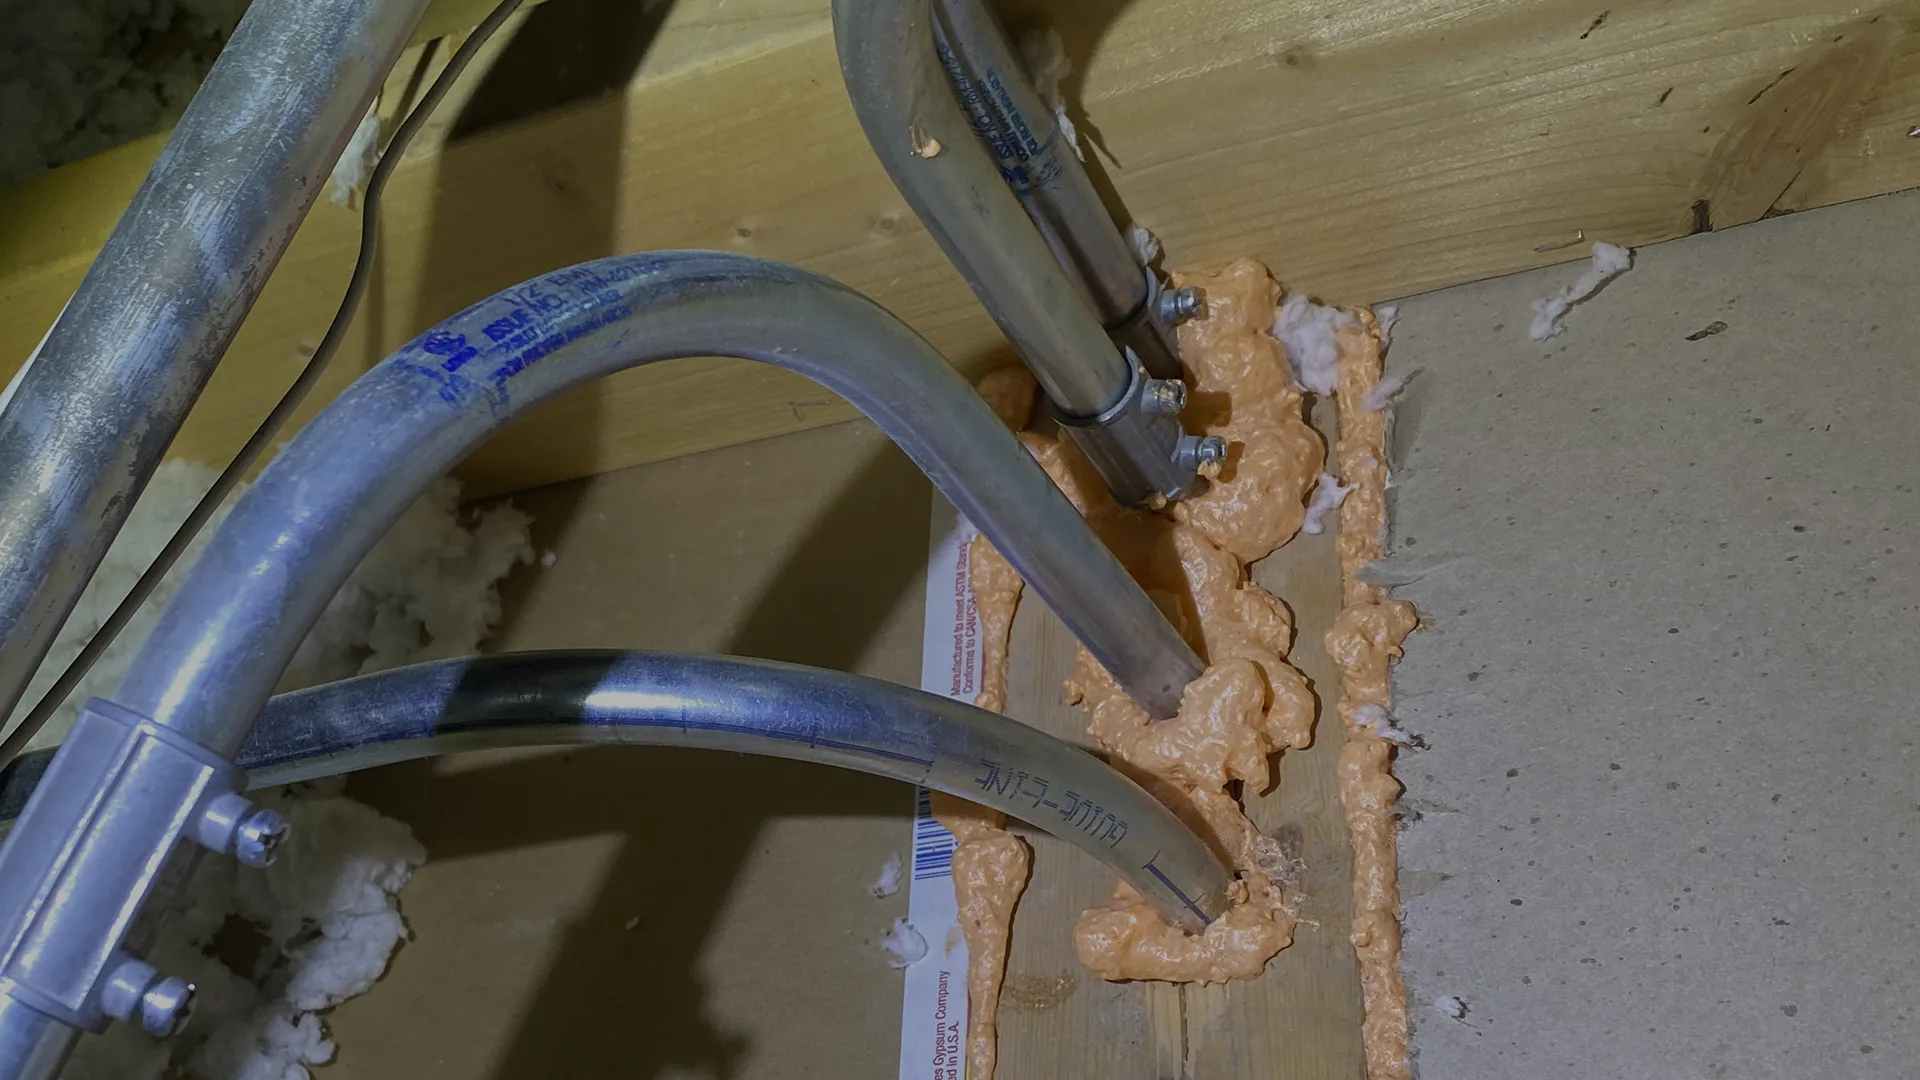
• Lower your unintentional leakage. We spray foam around most of these, including around light fixtures, bathroom fans, open wall cavities, and plumbing stacks.
• Other items like chimneys and recessed lights require special materials.
Seal the Gaps for Energy Efficiency
Any unintentional gap /hole in your ceiling creates air movement, air exchanges, is unintentional thermal transfer. Meaning your home is loosing heat in winter, and gaining heat in summer.
• Seal the Gaps. Mind the Gaps.
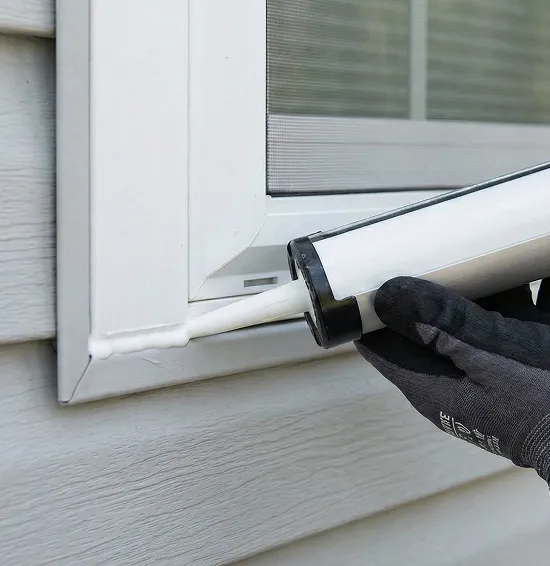
• Sealing the exterior building envelope properly which requires re-caulking every few years in the
• Chicago area due to extreme heat and extreme cold
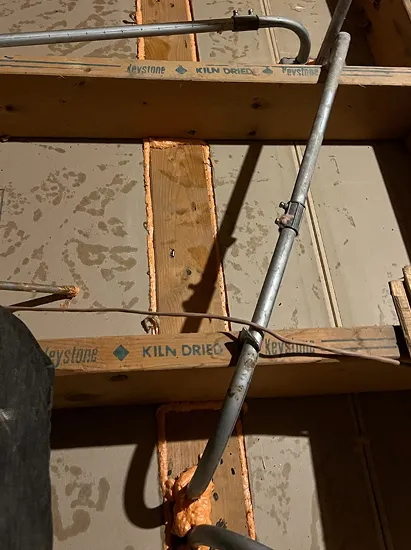
• Air seal the entire attic floor at all seams and penetrations
• You will see an immediate considerable improvement in comfort and efficiency.

Heat Escape and Energy Loss
The can lights box trim have little holes where heat passes through. This causes you to literally heat the outside in winter with your paid gas from your furnace.
1. This wasted heat (wasted energy) raises the cost of heating, but that is often the smallest concern.
2. Bigger concerns are the moisture and humidity created in the attic leading .
3. Creates a drafty home by allowing heat escape at the top of the home and air intake at the bottom of the home. Stack effect will create a cold downstairs with cold air intake around seams regardless of wind or not.

DIY Can light covers are challenging in two ways, one is maintaining a true tight seal around the light so it no longer leaks, and the other is accessibility of the can lights.
Green Attic uses drywall to created air tight fireproof boxes around existing can lights to stop air leaks from the conditioned living space. Air sealing attic is the first step in fixing problems around the home created by stack effect from leaking pressure barrier of the conditioned space.
Older can lights require a minimum distance around the light housing to prevent a fire. Lights should be replaced with cooler burning bulbs (older bulbs run around 200-250 degrees Fahrenheit, while new bulbs run much cooler around 100-125 degress Fahrenheit).

Each can light must be properly sealed to prevent heat escape ( heat rising from the conditioned space).
The combination of sealed plumbing, hvac, chimney, bypass, and electrical penetrations with sealed can lights creates a properly sealed attic floor. Now we can focus on fresh air balanced intake and exhaust ( ventilation.)

Effective Air Sealing for Energy Efficiency
To prevent air leakage, it is best to seal the building envelope during construction prior to the installation of the drywall. A “blower door” test is a good way to identify air leakage paths so that they can be sealed using an appropriate material.

Sealing the Gaps for a More Efficient Home
• condensation
• drafty rooms
• mold growth as result of condensation
• constantly cycling furnace and air conditioner
• higher than usual energy bills
• dusty rooms
• reduced air quality

A costly error is referred to in the real estate industry as ” topping off insulation.” When the home inspector finds mold typically the process. is to treat the mold and not the CAUSE of the mold.
Sealing the Gaps - Enhancing Comfort and Efficiency
Draftiness can be measured in air exchanges in the conditioned space.
Keeping the house snug and tight is commonly referred to as weatherproofing your home. This includes blocking drafts around windows, doors, and plugging cracks and gaps created by pipes, hoses, and exhausts.
Once the home is protected from drafty wind pressure from the exterior, you can begin to focus on air quality and air exchange improvements from the interior.
Shielding the home from wind pressure is essential to reducing “cold walls” in winter, air exchanges of heated ( paid for conditioned air.) Even if insulation is between studs, draftiness can still occur from wind pressure forcing cold outside air into the walls of through exterior seams.
Once the air is in the walls, it move by path of least resistance to the first available opening such as an outlet or seam where the floor and walls meet.

Without air sealing the attic floor, the heat will still rise and meet cold winter air from passive ventilation leaving food for mold growth in the form of warm air turning to condensation.
The solution is air seal attic floor, baffles and vapor barrier around attic parameter, proper ventilation, and adequate insulation.


Air Sealing the attic floor with one part spray foam is the first step to a comfortable energy efficient home where draftiness is eliminated by stopping heat escape from the heated living in winter.

Air Sealing Do It Yourself Video Links .
2. Stack Effect
3. Combustion and Ventilation
Three types of air exchanges occur within your homes ( conditioned ) space. The first two are the secret to a comfortable home. The this is the secret to a healthy home.
The Seam Between The Trim / Wall and Floor
The evidence of heat loss to the attic is here along the trim. Skin dust and hair collect from the living space occupants and is pulled up through the house as heat rises.
Do it yourself (DIY) air sealing / weatherization tips for your home.
1. Keep your window seams clean. When the windows collect dirt it combines with condensation and hardens making it impossible to get a clean tight seal, the weatherstrip functionality is compromised and air can leak in from “wind pressure”
2. Ensure weatherstripping around doors is correct and the door is not loose when pushed with pressure from your hand it should remain unmovable. If the door can move then there is an unintentional gap and air infiltration. Adjust the strike plate / latch to ensure the door is closed snug compressing the intended weather strip.


.svg)
.svg)
.svg)
.svg)
.svg)
.svg)
.svg)
.svg)
.svg)
.svg)
.svg)
.svg)
.svg)
.svg)

.svg)
.svg)
.svg)
.svg)
-1.svg)
.svg)
.svg)


